For companies
How to sell with a waitlist and take payments
The whole road from a product to the money: you set up payments once, customers join the queue, when you have new items they get a mail with “Pay”, and “Payments” shows who paid.
Steps
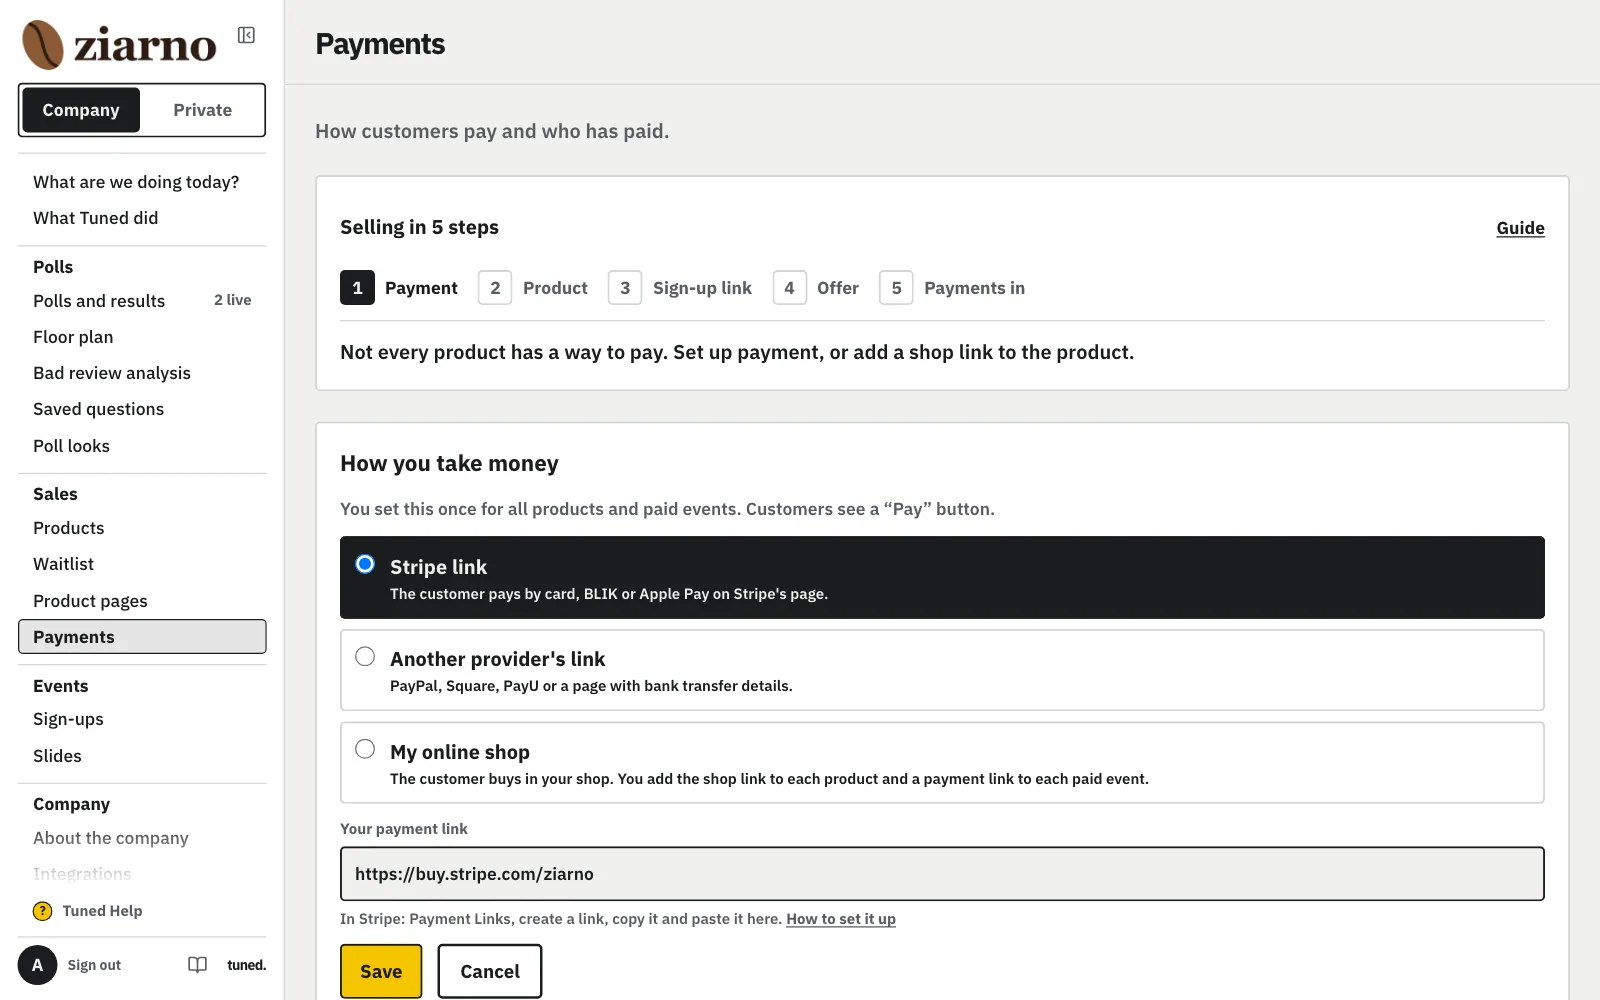
In the menu open “Payments”, pick how you take money, paste your link and click “Save”.
MoreLess: Set up payments once
Pick Stripe Payment Links, another provider's link (PayPal, PayU, bank transfer) or your online shop. You create the Stripe link in Payment Links (see “How to take payments”). Every product in the Queue gets this link, and the customer sees a “Pay” button.
In the menu open “Products” and click “Add product”: name and photos. The product takes its payment from “Payments”.
MoreLess: Add a product
Description, number of pieces and page look are under “More”. Under “How the customer pays” you see which payment the product gets. A different link for one product goes under “A different link for this product only”. Selling through your shop? Add the product's shop link: it sits under the “Pay” button or replaces it. The product list shows “Payment: …” for each product, or “Payment: no link” in red.
Click “Copy link” and paste it in your shop, on Instagram or in a mail to your customers.
MoreLess: Share the sign-up link
Until selling starts, a “How it works” strip with four steps sits over the products: the step in front of you says “Now”, the done ones have a tick. Each product shows how many people wait, how the customer pays and how many wait for “Paid”.
The customer picks the product, types an email and clicks “Get in line”, then confirms the address in the mail.
MoreLess: The customer joins the queue
On the product page the customer sees the photos, the description, how many people already wait (or how many pieces are left) and three “How it works” steps: signing up, the order at a new batch and the mail with a “Pay” button. Their place shows after they click the link in the mail.
Open the product, click “Send an offer”, type the pieces and the time to buy, then “Show who gets it” and “Send to…”.
MoreLess: Click “Send an offer”
The “Your turn” mail goes to the people who have waited longest, as many as the pieces you type. A discount code is optional. We don't hold stock: whoever doesn't buy in time keeps their place.
In the mail and on the “Your turn” page the customer has a “Pay” button that opens your payment link.
MoreLess: The customer clicks “Pay”
The money goes straight to your Stripe account; Tuned never touches it. The customer also sees until when they can buy, the discount code and the shop link if you added one. After buying they can click “Already bought” themselves.
“Payments” shows who clicked “Pay” or “Already bought”. When you see the money on your side, click “Mark as paid”.
MoreLess: See who bought and tick “Paid”
The newest are on top. When a customer clicks “Already bought”, you get an email and “Payments” in the menu gets a badge. The person leaves the queue as “bought” and gets no more reminders. Tuned doesn't connect to Stripe, so it doesn't tick payments by itself. Taxes, receipts and invoices are yours.